Friday, January 27, 2012

Painted buffet.... before and after

I was looking around my dining room space and thought that things were feeling a little dark and I had too much of the same wood tones all in one room.   

I have a dark wood dining room table and chair set, a dark wood antique chest of drawers, a dark wood bar cabinet and the dark wood buffet shown below. 
See the pattern???? 

I love the mix of different wood tones and painted finishes and thought everything was "matching" too much...not my cup of tea!
  
   The buffet was one of my first furniture pieces my husband and I bought together.   It is 16 years old and a little worn out and felt like the best piece in the group to change.

I asked my husband if he would not mind if I painted the buffet.   He was confused as I am always panting things and I don't think he even notices anymore, 
but thought I would be courteous.
Communication is key to a good marriage.
   
His response was...."What is a buffet?"

Then I was trying to tell him what is is and where it was located, but he looked at me like ...why are you asking...so I got out my paint and got to work.

Before


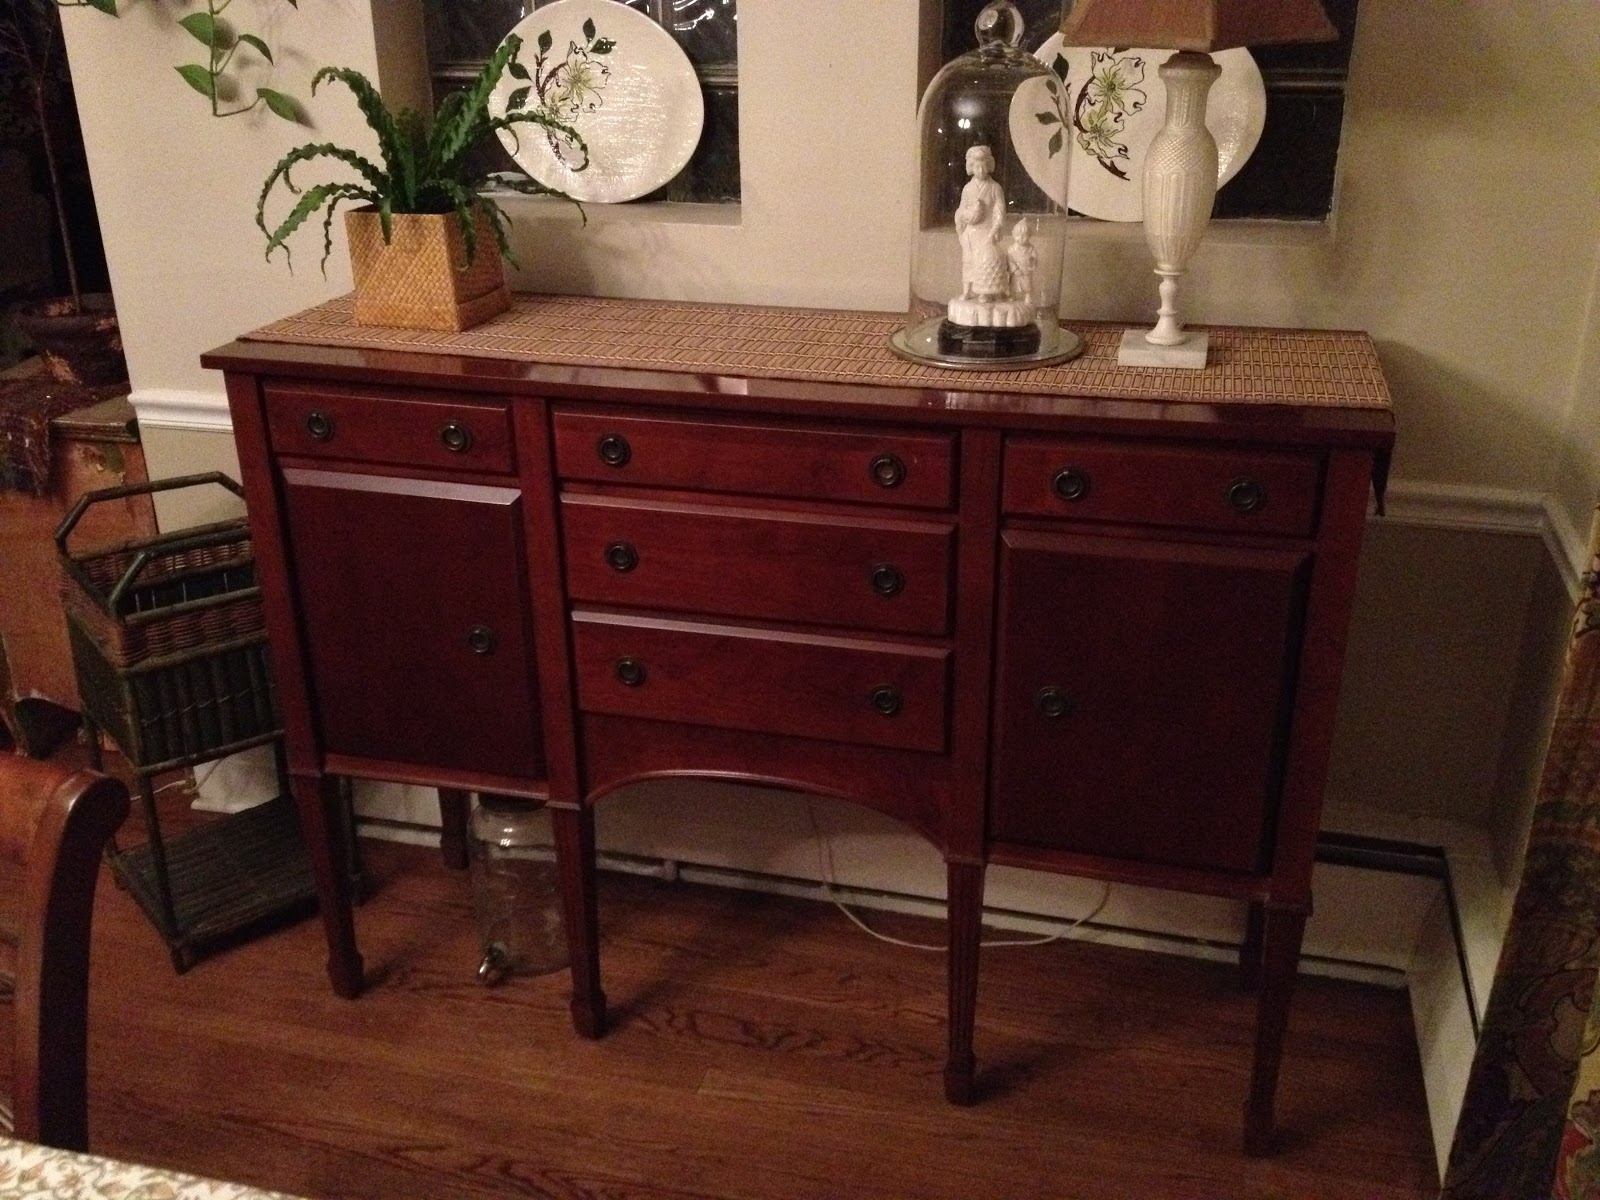
 I love the painted distressed look of furniture but have to be careful since I live in a brick bungalow.  I don't want it too look to "shabby chic"  I save that look for the bedrooms.   I want it to look like it fits in with 
the style of my home.
So...I chose to do a creamy gold all over and a grey green for the top.  

          
After

 Then I added these mismatched crystal knobs from Anthropologie that have all the colors of the stained glass windows in my living room which is open to the dining room.  
 I distressed the edges a bit by scraping off the dried paint with a razor.
 I love how it turned out... and I am sure my husband will too once he notices it!   

Tuesday, January 24, 2012

Tips for Mixing Patterns and Color


One thing I do the most for clients is assist in coordinating fabrics. I thought I would share a few tips I share with clients that make the process less intimidating.  

Below is a pattern that has what I call "movement."   Patterns with movement have a free flowing effect...
a floral is a good example. 
 Here is another example of a pattern with movement.   I would use these two patterns in the same room.   When mixing more than one pattern that has movement, it is important that they contrast in pattern and scale.   Then they look good together. You use color to connect the patterns...both of these patterns have blue and gold.   

 The next type of pattern I like to add is a pattern that feels geometric.   This could be a herring bone pattern, stripes, polka dots....

 Some patterns are "tone on tone" like the one below.  This one looks solid blue from a  distance...that is a good way to know if you are looking at a tone on tone pattern.  
 Then there are ones that incorporate both a geometric and movement.  This one I would consider to be more geometric because of it's symmetry...but patterns like these can work for either effect sometimes. 
So my general rule is to mix:
patterns with movement
patterns that are geometric
and
patterns that are solid or tone on tone

It always feel more balanced with adding all 3 types into your decor.  These patterns can show up on window treatments, rugs, throw pillows, artwork,and in your accessories.

One rule to remember that when mixing more than one pattern type...add a contrast through color and scale. Also remember to connect the color story by repeating the colors in your fabrics. 

Hopefully these tips will help when mixing patterns and colors....
This is one of my favorite things to do!


Friday, January 13, 2012

The Need for Green......


I am not the gardening type...hate bugs, but I do love plants and flowers.   When all the green is gone from the trees, I have to go out and buy some new plants for inside my home.  

I had a glass bowl, a rusted lantern I picked up at an estate sale, and hit our local florist for some small plants and one fern.


 I planted the fern in an old bowl I had and placed the lantern in the center.  The lantern has a long screw sticking out from the bottom which is what started the idea of adding to a plant.  All I had to do was 
stick it in the dirt.
 Then I added a cream candle in a 
shallow candle holder and placed it 
inside the lantern.


 Next I added 3 different smaller plants in one pot to create a simple arrangement. 


 Then I worked on my favorite idea.
I found this florist in Paris through Pinterest that makes terrariums that are so sweet.  I was thrilled when I found a oversized glass bowl at a thrift store for $3 so I could try it myself.


It was so simple...I added 2 small plants purchased for $1.45 each and one miniature African Violet that cost $3.

I mixed the height, color, and textures of the greenery to make each plant stand out.

Then I added some river rocks and 
litle bits of moss.


Having the green back and these 
sweet little flowers 
makes me feel happy!

Thursday, January 5, 2012

REDESIGN...Before and After...with a few new things

Here was the challenge... I wanted to help a friend freshen up her home on a budget...we thought it would be fun to spend as LITTLE as possible but make a BIG impact.   
See how we did...


BEFORE 
DINING AND LIVING ROOM


AFTER 

To update the color scheme, I used chocolate brown to accent the blue color scheme since the couch had to stay.  Slipcovers were too pricey.

We only had one gallon of $5 "oops" paint so we used it behind the sofa and on the opposite wall for balance.
The other walls got a fresh coat of left over paint from a friend. 
We needed more than one gallon so we added a gallon of "oops" paint similar to the cream in a large paint bucket.

We also purchased some chocolate brown accent pillows from Target.
 I used RIT dye to dye the drapes to a neutral soft tan color and get away from the white.
I painted the rods and invested in metal rings from Target and clipped the drapes up.   
The rings make it easier to slide the 
drapes to open and close them. 

The sofa table was behind the loveseat and was a light wood.   I painted this black.
 This is the wall opposite of the sofa where we added the brown color again.

 I restyled the shelves using what 
I could from around the house. 

 I picked up matching end tables for $10 from a church rummage sale and used my friend's lamps she already owned. 
 In the dining room, I did a white wash to tone down the brightness of the 
blue below the chair rail and removed the wallpaper border.
We also added a fresh coat of the same cream colored paint in the living room.  
 I added some lamp shades and straightened out the furniture.  

We painted the chairs and table legs black and restained the table top in a cherry stain.
 My friend had these silk cream panels 
in her attic!!!!Love when that happens! 

We hung them up just like we did in 
the living room.

We also added an inexpensive area rug form Menards that was about $30.
 I restyled the inside of the china cabinet.
This was a fun redo that I did with 2 of my good friends in 3 days while all our kids were at school....except for my little girl that supervised from her walker.

Working together and pulling resources from wherever we could is a great way to decorate on a budget!