Monday, May 28, 2012

Bathroom Tour

A little tour of a little room....
I have featured my 
chalkboard wall on my blog 
before and a little bit 
about this space, 
but thought I'd give
 you more of a tour....

The lighting is a little off...
but I painted the walls 
a medium toned green...mistake paint...
my favorite kind of paint
$8 a gallon
from a thrift store.

I have a plain shower curtain to use 
because this bathroom has 
already been 
7 colors in 5 years...


The window treatment
is a vintage tablecloth
folded and hanging over a
drapery rod. 

The greens are clippings from a 
tree in my yard...
great way to 
feel like you have fresh flowers
but at no cost!


A vintage painting and 
thrift store frame
add the view this 
bathroom is missing....
hung on the chalkboard wall.

You can also see the 
original wall tile
and towel holders.
They were sprayed and recoated 
in white by the
previous owners. 

 Love yellow and green together 
so the window treatment and the 
towels bring in the yellow
 to go with the green 
on the wall.


A vintage wall lamp...
there is an overhead light, 
but I love soft 
lighting options in every room.


Carrera marble for the vanity top 
ties in the marble floors I 
added 5 years ago.

The mirror is decoupaged 
in newspaper. 


The soap dispenser is an old Avon 
lotion dispenser.
The black box stores toothbrushes.

The vintage table has 
the perfect opening for 
towel storage
and a drawer for 
other essentials...

It a tight bathroom so I 
have to use all space in a 
functioning and decorative way...
always my goal in any space.


 My daughter's step stool adds
a little touch of green 
and tucks away 
perfectly under the window.

I changed the knobs on the 
vanity to colored glass
to disguise the Home depot
look it had before.


The wall color shows up a 
little better in this photo.
 A sisal rug is a nice 
earthy touch for the room...
wanted something less 
predictable for the rug. 
Overall...I wanted to make this space feel original... yet updated.
  
I tried to accomplish this by
adding vintage furniture and accessories
 to marry with the look 
of the original tile,
adding small tile which is 
the size it would have been originally,
and blending old with new all
the way through.


Monday, May 21, 2012

My Kitchen


 Yesterday was a big day...my home was 
featured on a house walk in 
our town of Riverside IL...still recuperating 
from all the cleaning, painting, rearranging, etc....

My children were allowed back home after the 
event and were asking 
if they could sit on the couch again....poor things!

I thought I would share some photos of my kitchen....

This kitchen was a turn off when I bought my 
home because it was 
so closed off from the dining and living room.   

As you can see in 
the photo below, I opened up the wall and 
added counter stools on the 
dining room side and 
was able to eliminate that issue. 

I added a drum shade fixture that would not
compete with the dining chandelier.

I purchased this antique bread box...
I think new kitchens need old things.


I used a contemporary vase with some artificial
flowers, vintage platters and potted parsley.


The window treatment is an embroidered linen panel 
that I gathered in the center using 
 flower hair accessory.


I glued buttons to this little lamp shade for a touch of whimsy.
The greens in the tall vase are 
from a tree in my yard and 
added some 
lavender and a fern in 
vintage pottery.


I selected custom cherry shaker style cabinets in walnut stain
because I am not too crazy about the red that shows up in wood.
   
I thought off adding white cabinets to keep it as open as 
possible being a galley kitchen, 
but wanted to keep true to a brick bungalow style kitchen.

I base a lot of the way I decorate my home
to fit within the style of the home....
want it to feel original, yet updated.

Sometimes this is hard...I love every style...really!
....but I keep asking...
does this fit with a bungalow look?

I also had to think about how the cabinets would look 
visually with my wood dining set...
not at all into matching, 
but like things to flow.

Sometimes it is nice to ground your design 
with the main elements 
(Example here: cabinets and dining set)
being similar
and then mix it up with how you accessorize. 
   

 I chose these granite counters...giallo ornamental 
to keep the space bright and neutral.

I have an antique wire basket
 for all my potatoes and such...
the open space keeps things from rotting 
and I love the look. 


I get tired of things fast, so I added a 
classic cream crackle
subway tile backsplash
...also true to bungalow decor.

I accented the tile with a travertine
mini subway tile
inset over the stovetop,
It also connects with the floor tile.


Under cabinet puck lighting highlights 
the tile and granite
and is great task lighting.


Then I created a little breakfast nook...
great to have benches for squeezing 
more people in
and I love it with kids.


 I found these plastic vintage flower plaques at a thrift store.
The window treatments are napkins clipped in a row.


I got the bench fabric for $6 a yard...
 just keep recovering and washing
fabric for these foam cushions.

I just wrap them like a present
and use big safety pins.
I added rug grips underneath
the cushions.

I also added vintage doilies under the glass. 


 Found these cool dishes at a thrift store...love the mix of retro with the doilies.

 I stripped the one wall I have to pull the 
colors of the granite and tile.

I placed the stripes over the 
fingerprints of my children
and a mark made where I killed a fly.
...so they are not evenly spaced.
I was too lazy to paint over the top
of the cabinets so 
 this seemed like a good solution. 
 I put the 18x18 floor tile on an 
angle to get away from a runway look.

I also selected a light and bright tile
to keep it as bright as possible and
connect to the colors in granite. 
I wanted a busy
 pattern to keep from having 
to wash the floors too much.

I added some vintage plates in a random way 
to bring your eye up.


 I feel very fortunate to have this kitchen!
I hope you enjoyed the tour!


Sunday, May 6, 2012

Opening the Screened In Porch

  This morning I brewed a pot 
of coffee and got to work on 
cleaning and arranging 
my screened in porch.

This is a bonus to my home, 
and I did not even realize 
it when we purchased
our home 5 years ago.

Although it is small, it gets a 
ton of use and functions very well.

I love decorating small 
spaces and packing in
all types of functions 
 into the space.

I decorated the space with 
thrift store furniture 
and a rug remnant.

I added lamps, accessories, 
and art trying to
give the feel 
of an interior space. 

 The couch fabric is a little crazy, 
but for $50 and having the 
same colors of the brick
and the small dimensions needed, 
it was a must have for the space.

Of course the day I found it, 
I had all three kids and 
had to get it home
with them in tow.

I could have gone back for 
it the next day, 
but I have no patience! 
 I added this thrift store 
chair that has 
little pineapples and 
painted a desk with 
polka dots for my 
4 year old to use.

You can see the brick colors here.

The polka dots were created with a stencil.


This end of the porch 
is a spot to sit 
and remove your shoes
or set things down.

...Kind of works like 
my mud room too.


 Across from the TV, 
I added this TV/VCR
bought at a garage sale
...yes VCR
Now I watch all 
my 80's flicks 
on video that I 
purchase at thrift stores.

The TV stand is also a bench, 
so I put the TV away if we 
are having company and 
add a little cushion
and then it becomes an extra seat.

I also found this amazing 
vintage fan. 

 The little chair is great to 
put your feet up.
On the ledge, I added
plants and a metal bicycle. 


 The couch and chair also 
create a nice
conversation area. 

The windows have bamboo blinds 
that help keep it 
from getting too sunny.   

I added this light fixture 
from Menards and a 
twig as a window treatment.

The walls, spindles,
 and ceiling were 
originally cedar colored and white.
My hubby and I painted it
all the colors I asked which
 were inspired by the 
color in the bricks.


I made sure to add lots
of colors on this side
with pillows and 
accessories to
compliment and balance
with the other side
of the porch.  


 This is truly my favorite 
place to spend time...
so glad to have it ready 
for the spring and summer season. 

Monday, April 30, 2012

Gallery Wall

I am a bit frantic 
preparing my home 
to look it's best for 
an upcoming housewalk event.

Good side...It's like having a party
...things get done that have 
been on my list, 
and so that is what is going on 
in my house now.  

Also reminds me of my college days...
sitting up all night 
writing the paper that was
due the following morning 
when it was assigned weeks before.

Anyway...here is the wall I 
decided to tackle on my list...
This is a game table area
 in my living room.


So I took my 4 year old to IKEA, 
 played house in ALL 
the room settings, 
then 2 hours later(for real), 
I got to play with the frames. 

 I like to lay things out on the 
floor to plan my layout.

I actually had no idea 
what I was going to frame, 
but thought I would 
rummage through the house.

Besides, if I was going to 
buy the frames, I was not going 
to spend any more money.
Then I started to dig 
through things and... 

I came up with this pile...

a watercolor form a local artist,
old wallpaper,
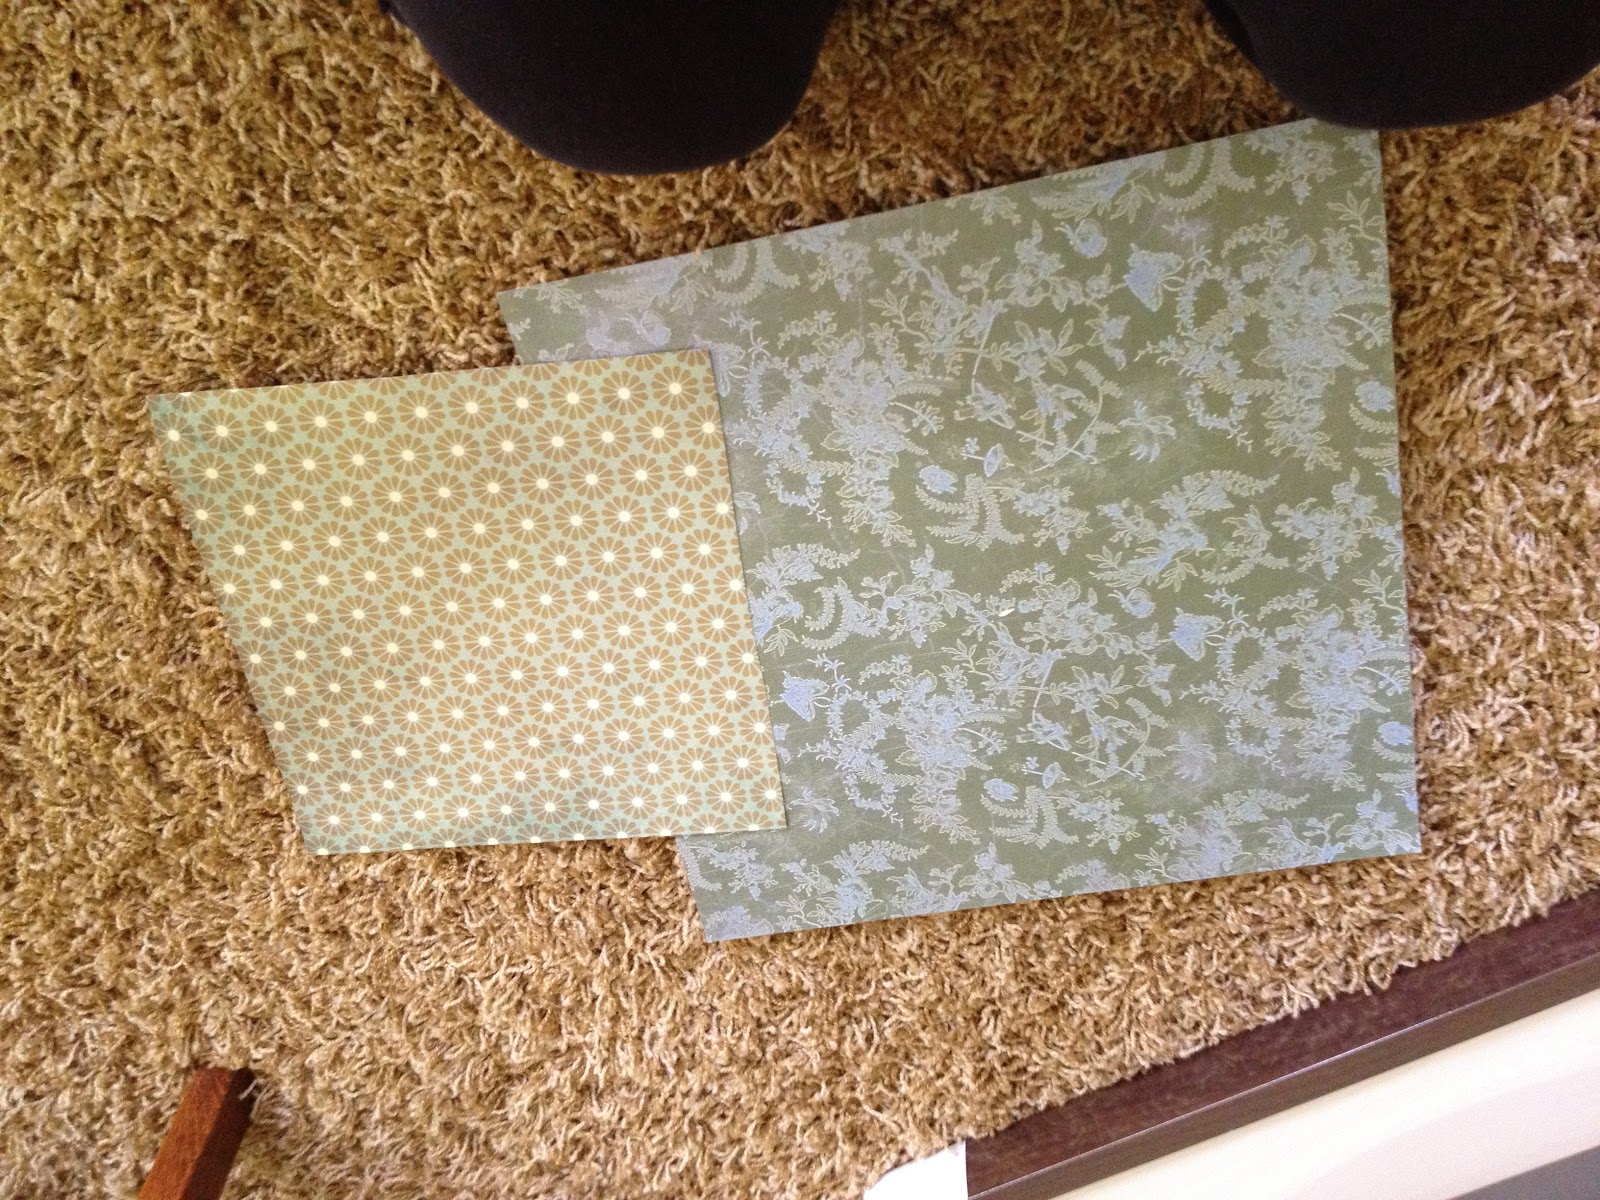
scrap book paper, and 
a sketch/painting by a local artist
 I was looking to bring in some 
blue since I have 
so many autumn colors.

The watercolor leaves painting
was the item to connect the 
dots with my colors
since it has the blue I wanted 
and the room's colors.

I started building my gallery wall 
and assessing as I went along.

I started with this 
sweet wallpaper print.
It came from a book 
of discontinued papers.
 ...taped it to the matting and framed it
 Then came this sketch that 
reminds me of coral.
 Put the first two framed items
 next to each other
to assess and was 
happy so I kept going.
 Then my watercolor that I knew 
would look better with a mat so was 
eager to see it done.
 ...loved it so much more framed
 Then I layered two pieces 
of scrapbook paper.
One felt too plain.

 Lastly, I had this piece 
of discontinued wallpaper...
 but had to play with what part 
of the pattern I liked best.


Then it was time for 
the moment of truth...

hammer and nails....


and here is what I ended up with....